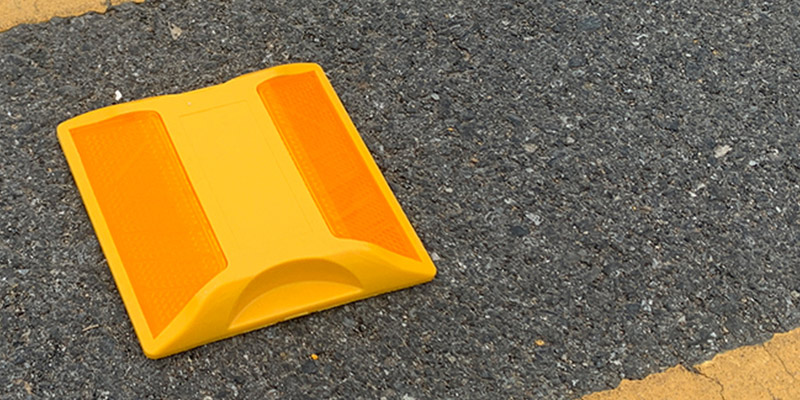
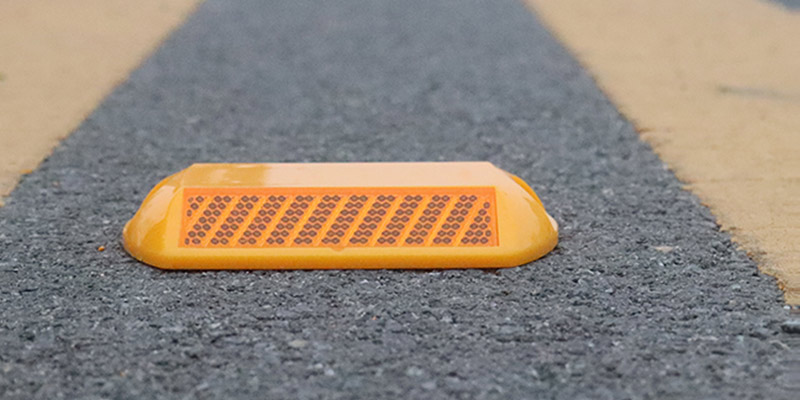
Reflective road studs are important facilities to improve road safety, especially at night or in bad weather conditions, which can effectively guide drivers and reduce accidents. The correct installation method can not only extend the service life of road studs, but also ensure that they can perform at their best. The following are the steps to install reflective road studs:
1. Preparation before installation
Choose the right road stud
Choose the right reflective road stud according to the type of road and needs, such as:
Material: aluminum alloy, plastic or ceramic.
Color: yellow, white or red, used to distinguish lanes, edges or warning areas.
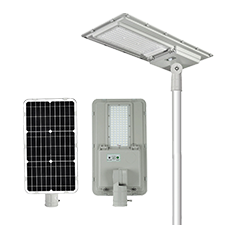
Function: ordinary reflective type or solar type.
Prepare tools
The following tools are usually required to install cat eye road studs:
Electric drill or impact drill
Screwdriver or wrench
Tape measure and marking tool
Cleaning tool (such as brush or compressed air)
Glue or epoxy resin (for adhesive road studs)
Check the installation environment
Make sure the road surface is dry, clean, and free of oil or dust.
Confirm that the installation location is in line with the planning of traffic signs and markings.
2. Installation steps
Mark the installation location
Use a tape measure and marking tools to mark the installation location of the road spike on the road surface according to the road design requirements. Usually, the spacing between road studs is 5-15 meters, and the specific spacing depends on the road type and vehicle speed.
Drilling (for bolt-on road spikes)
Use an electric drill to drill holes at the marked location. The hole diameter and depth should match the fixing bolts of the road spikes.
Clean the gravel and dust in the hole to ensure that the bolts can be firmly fixed.
Fixing road spikes
Bolt-on type: Insert the bolts of the road spike into the drilled hole and tighten them with a wrench or screwdriver to ensure that the road spike fits tightly against the road surface.
Adhesive type: Apply special glue or epoxy resin to the bottom of the road spike, press on the marked location, and maintain pressure until the glue solidifies.
Check the installation effect
Ensure that the road spike is firmly installed without looseness or tilt.
Check whether the reflective surface is facing the direction of vehicle travel to ensure that its reflective effect is optimal.
3. Maintenance after installation
Regular inspection
Check the fixation of the road studs reflector and the cleanliness of the reflective surface at regular intervals, and clean up dust or dirt in time.
Replace in time
If the road studs are found to be damaged or the reflective effect is weakened, they should be replaced in time to ensure road safety.
4. Precautions
During installation, the regulations of the local traffic management department must be followed to ensure compliance with road safety standards.
When installing on roads with heavy traffic, it is recommended to choose nighttime or off-peak hours to avoid affecting traffic.
For solar road studs, ensure that the solar panels are facing the direction of sufficient sunlight.
Through the above steps, you can easily complete the installation of reflective road studs and add a guarantee for road safety. Although reflective road studs are small, their role at night and in bad weather cannot be ignored. Proper installation and maintenance will maximize their value!